
 all communications are private and not shared with other parties.
Replacing a Replacement Window: Signs Your Oakland Retrofit Has Reached Its Limit
Key Takeaway
Yes, replacing a replacement window is possible: the existing unit is removed first, the opening is inspected layer by layer, and the right fix depends on whether the retained frame is dry, square, and structurally sound. Four options exist: reseal, glass or sash service, a new insert, or full frame replacement back to the rough opening. In Oakland, permits are required, California energy code ratings apply, and pre-1978 homes trigger lead-safe work rules.
Yes, a replacement window can be replaced again. The existing unit comes out first, the opening underneath gets inspected, and the right fix (a reseal, glass-level service, a new insert, or full frame replacement) depends on what condition the retained window frame and wall are in. Most guides walk you through replacing an original window, which leaves you stuck when the window you want gone is already a retrofit. If you’re a homeowner in or around Oakland weighing whether your existing replacement window has run its course, this is written for you. The visible unit is only one layer of the opening, so the real question isn’t “can I replace it” but “which layer has actually failed.”
Yes, You Can Install Replacement Windows Over Old Windows

“Replacement window” describes an installation method, not a window that only gets one life. A retrofit was installed inside or over an existing opening in your house, and nothing about that stops you from doing it again. The key distinction matters: you don’t nest a new window frame inside the current one. The existing unit is removed first, then the remaining opening is evaluated honestly. From there, you land on one of four outcomes:
- Reseal or repair a correctable problem.
- Service the glass or sash while keeping a sound frame.
- Install a new insert into the retained frame.
- Go full frame back to the rough opening.
Which one fits isn’t guesswork. It comes down to what’s left in your wall once the old windows are out, and that drives the entire replacement window installation that follows.
What’s Actually Still in Your Wall?
Picture the opening as layers: glass, then the sash or operating unit, then the existing window frame, then flashing, then the rough opening framing. A retrofit sits on top of some of those layers rather than rebuilding all of them.
Your existing install is probably one of three types. An insert or pocket replacement keeps the old frame and interior trim and sets new windows inside it. A flush-fin retrofit laps over an older frame from the exterior. A prior full frame job would have gone back to the studs. Older double-hung wood windows may still carry jamb liners from the original sashes. Identifying which method is in place changes everything about the new project, because it tells you how much sound material you have to work with and whether another one of these insert windows is even a reasonable idea.
Repair, Replace the Glass, New Insert, or Full Frame Window Replacement?
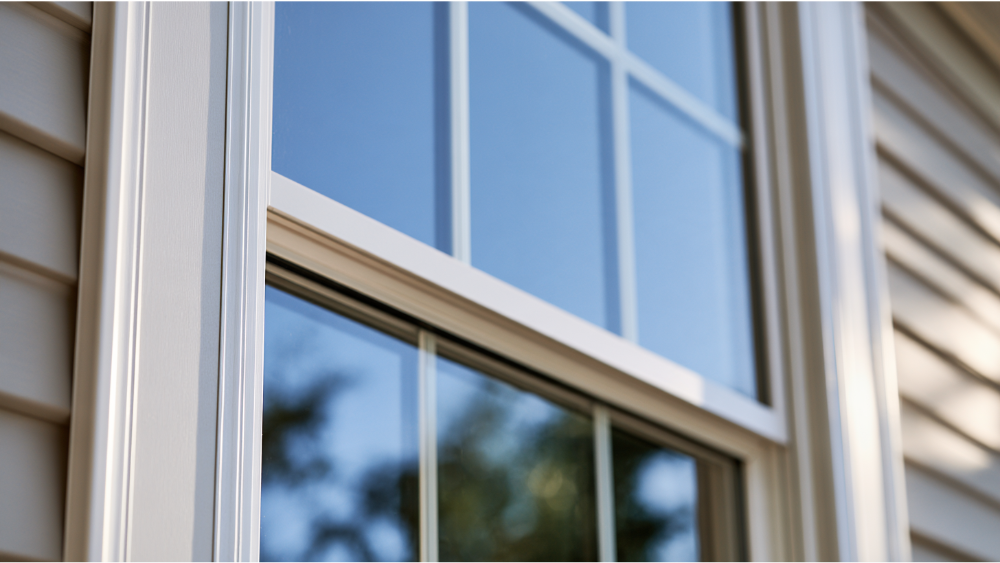
Diagnosis comes before product selection. An insert only works when the retained frame is dry, square, and structurally sound. Full frame is the answer when there’s rot, recurring leakage, distortion, a poor prior installation, or so much glass and egress area already lost that another insert makes the window area worse. Proper flashing and sealing are what keep water out, and only a full frame approach gives you access to that layer.
| Approach | When it fits | What stays | What it can’t solve |
|---|---|---|---|
| Reseal / Repair | Worn weatherstripping, a correctable perimeter gap, loose hardware | Everything | Rot, out-of-square frames, failed glass |
| Glass or Sash Service | Fogged insulated glass, sound frame and operation | Frame, trim, operation | Frame rot or opening leaks |
| New Insert | Retained window frame is dry, square, and solid | Original frame and interior and exterior trim | Hidden water damage; may reduce visible glass area |
| Full Frame Replacement | Rot, recurring leaks, distortion, lost egress, bad prior install | Only the rough opening | More disruption to surrounding finishes |
Relative disruption climbs as you move down the table. We won’t promise a timeline, because the opening condition drives the installation process.
Seven Signs Your Oakland Retrofit Has Reached Its Limit
- Recurring leaks or stains below the opening. Federal building-science guidance notes that water infiltration between the window and rough opening often hides inside the wall, surfacing as staining, peeling finishes, or damp flooring rather than water on the sash.
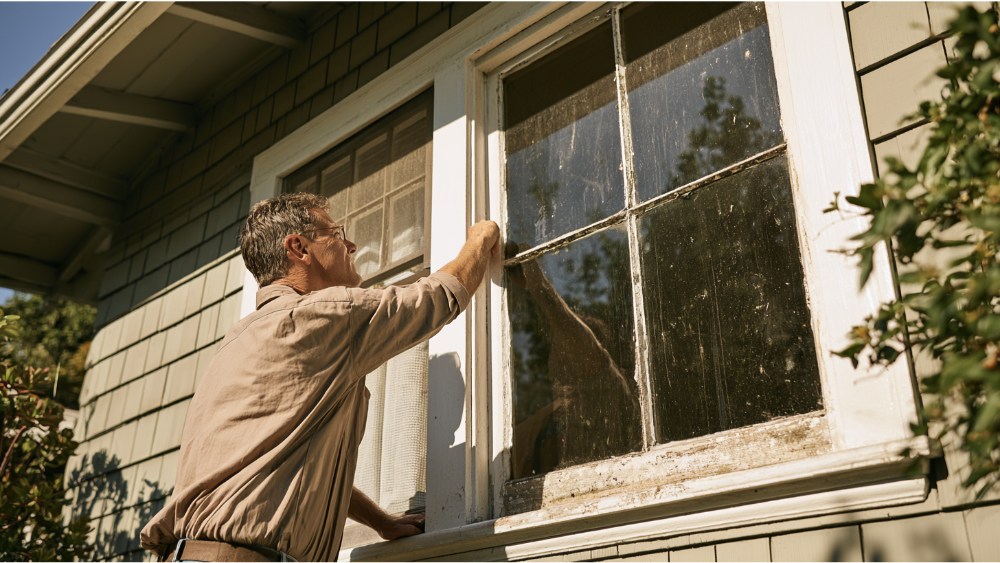
- Soft or rotting sill or window frame. A deteriorated sill has to be replaced before any insert goes in, which usually means full frame.
- An opening significantly out of square. A twisted or racked frame keeps the sash from sealing, and no insert corrects the geometry.
- Persistent operation or locking problems. If it binds, won’t lock, or drifts out of alignment, something structural is off.
- Drafts that persist after normal sealing corrections. If resealing and new weatherstripping don’t close the gap, the installation itself may be the issue.
- Too much visible glass or emergency-opening area already lost. Each insert eats into light, view, and egress. Codes still apply, so cumulative loss matters.
- The project needs access to flashing, insulation, or damaged framing. That access only exists with a full frame approach.
One or two of these might point to a repair. Several together usually point past the insert and toward new windows.
Fog Between the Panes Is Not the Same as a Leaking Opening
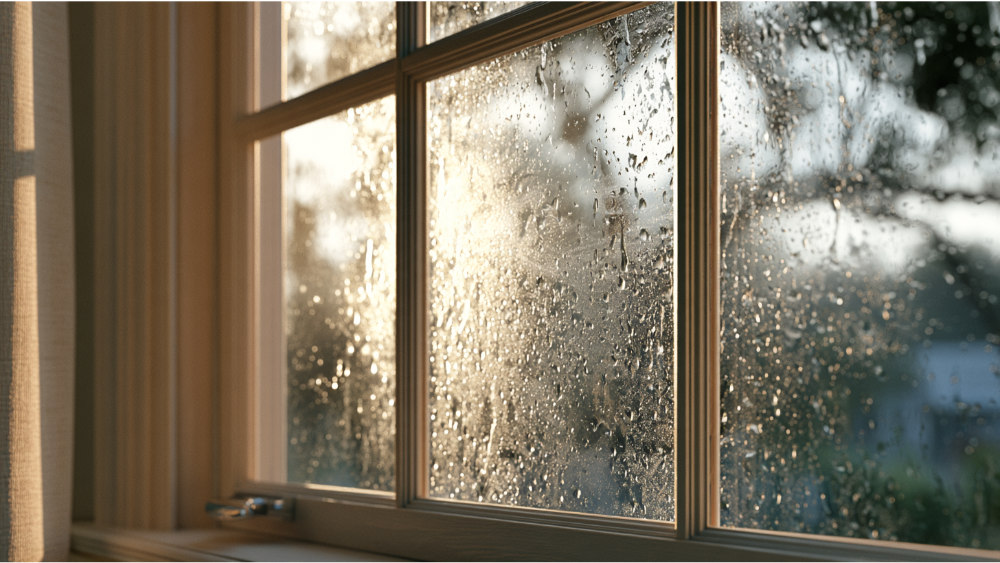
Moisture shows up in four very different ways, and where it sits tells you what failed:
- Interior-surface condensation on the room side, driven by indoor humidity.
- Exterior condensation on the outside glass, driven by weather.
- Moisture trapped between the panes, which means the insulated glass seal has failed. That’s a glazing problem, not automatically a frame failure.
- Water entering around the window frame or rough opening. This is the serious one.
Even efficient windows can develop surface condensation in certain conditions, so fogging on its own usually points to glass-level service rather than a whole-opening replacement. Double-pane glass insulates better than single-pane, which is exactly why a failed seal is worth fixing rather than ignoring.
Age Is a Clue, Not the Deciding Test
Skip the “replace every 15 or 20 years” rule. There’s no universal lifespan rating for windows, because durability depends on design, materials, installation quality, exposure, operation, maintenance, and seal condition. A well-installed unit can outlast a poorly installed newer one. Condition, operation, leakage, and warranty status tell you more than a number on a calendar. Your investment deserves that kind of honest look before you commit to replacing windows again.
What a Proper Window Assessment Should Check
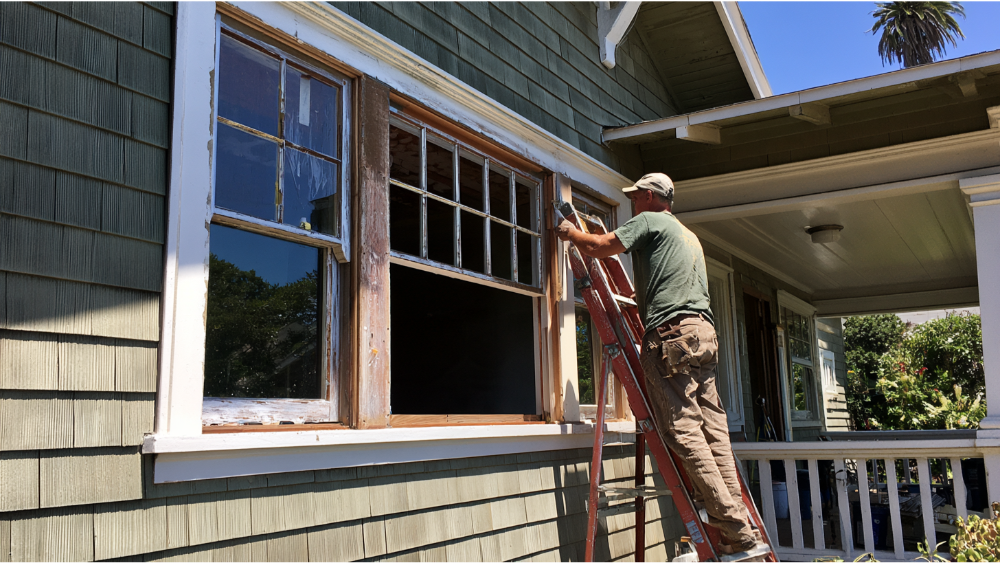
A real assessment looks past the glass. Accurate measurements are the foundation, because the correct window type and product can’t be chosen until the retained window frame, opening, and ratings are understood. A thorough check covers:
- Interior and exterior staining around the opening.
- Sill and frame condition, probing for soft spots.
- Square, level, and actual opening dimensions.
- Drainage paths and weep holes.
- Flashing and wall integration where accessible.
- Lead paint considerations in pre-1978 homes.
- Egress and safety-glazing locations.
- Existing warranty and product records.
Proper flashing and sealing prevent water intrusion, and safety glazing may be required in specific spots, so both get confirmed during measurement rather than assumed. The same careful measurement applies when a project also involves a patio door or other doors sharing the same wall, since those openings move water the same way a window does.
NFRC Ratings, Window Style, and Materials Worth Knowing
California requires windows sold in the state to carry a National Fenestration Rating Council label, which lists the rated U-factor (heat transfer) and SHGC (solar heat gain). Those two numbers tie directly into the energy code below and shape real window performance. Low-E coatings reflect heat and block UV, and double-pane units insulate better than single-pane. Reputable window manufacturers print these ratings so you can compare products honestly, and your chosen window style affects both the look and the net opening.
A quick rundown of common materials so you can discuss options:
- Vinyl: affordable, energy-efficient, low-maintenance.
- Fiberglass: durable and energy-efficient.
- Wood: a classic look with good insulation, but it needs upkeep.
- Aluminum: strong and slim, with its own climate trade-offs.
Energy-efficient windows may qualify for certain tax credits and typically help with heating and cooling costs, though actual savings depend on your home and the product. We’ll match the materials to how the opening is used and how exposed it is.
Oakland Permit and California Energy Rules Before You Replace Again

Oakland requires a building permit for residential window replacement. Planning review applies too, although a like-for-like replacement may qualify for a Design Review Exemption. Windows that visually change the house, or work on a historic property, can trigger added review. Residential projects of three stories or fewer need CF1R energy documentation, and an approved Waste Reduction and Recycling Plan is required before the permit is issued.
On energy: the 2025 California Energy Code applies to permit applications submitted on or after January 1, 2026. Oakland sits in Climate Zone 3. Replacing 75 square feet or less of vertical fenestration may use a maximum U-factor of 0.40, while larger scopes follow the prescriptive package, where Climate Zone 3’s current maximum is U-0.27. There’s no prescriptive SHGC requirement in Climate Zone 3. Oakland’s published permit processing estimate runs roughly three days to four weeks depending on complexity, and that estimate is worth confirming with permit staff. An older 2022-cycle form still shows up in some searches, so verify current requirements through the City of Oakland and the California Energy Commission rather than an outdated PDF.
Egress and Safety Glazing: What Actually Applies
A common myth says every replacement bedroom window must be enlarged to full new-construction egress. California’s existing-building provisions allow an exception for emergency escape and rescue replacement windows when the unit is the manufacturer’s largest standard size that fits the existing frame or opening, keeps the same operating style or provides equal or greater opening area, and isn’t part of a change of occupancy.
For context, baseline figures for new openings are 5.7 square feet net clear (5.0 for qualifying grade-floor openings at ground level), with a 24-inch minimum clear height, 20-inch minimum clear width, and 44-inch maximum sill height. Don’t calculate these from nominal window sizes yourself, because net clear opening depends on the operating style and hardware. Safety glazing may also be required near doors, wet areas, stairs, and low panels, which gets verified during measurement and permitting.
Lead-Safe Work in Pre-1978 Oakland Homes
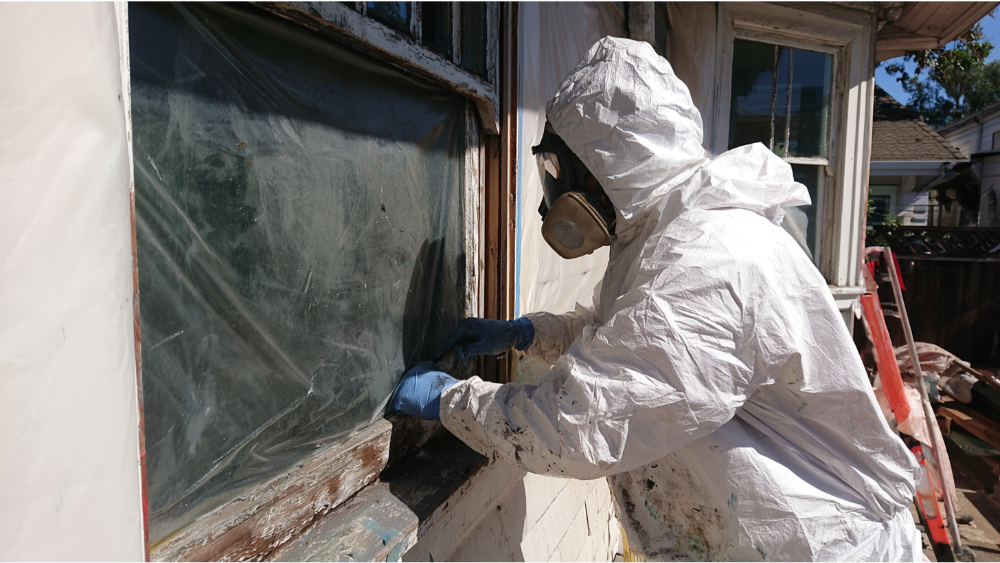
Much of Oakland’s housing predates 1978, which matters here. Paid work that disturbs painted surfaces in pre-1978 housing generally falls under the EPA Renovation, Repair and Painting Rule. Window replacement is specifically covered, regardless of the minor-repair square-footage thresholds (6 square feet interior, 20 square feet exterior). Removing a window commonly disturbs lead paint on both the inside and outside, so containment may be needed on both sides. This is a straightforward reason to hire a properly certified, licensed window company rather than treating replacement window installation as a weekend project.
Why DIY Window Installation Rarely Pencils Out
It’s tempting to look at a single opening and think DIY window installation is a quick job. In practice, the removal, flashing details, and square-and-level setting that keep water out are exactly where a self-done install goes wrong. The right tools matter, but so does knowing how each layer of the opening works together. A small gap in the flashing or a frame set out of plumb can send water into the wall for years before it shows. Getting the trim, the wood sill, and the wall integration right is slow, time consuming work. Add the lead-safe rules above and the Oakland permit process, and the math usually favors a licensed installer who handles the whole thing correctly the first time.
Questions to Ask Before You Approve the Work

These questions separate a careful proposal from a vague one:
- What parts of the current assembly will be removed?
- Will the original window frame remain, and how was its condition verified?
- How much visible glass will remain?
- How will water be directed out of the opening through flashing and drainage?
- What happens if concealed rot is found?
- Who handles Oakland permits and CF1R energy forms?
- Which product and installation warranties apply, and what is the installation cost picture?
- Will added work require a written change order?
California gives you some built-in protections, too. A written home-improvement contract is required for projects over $500, the maximum down payment is $1,000 or 10% of the contract price (whichever is less), and any scope or price change should be documented with a signed change order.
A Hassle-Free Path to the Right Replacement Window Installation
Our process is built to take the uncertainty out of all this. It runs in three steps: Connect, Measure, Install. We start with a conversation, take accurate measurements, walk you through product and material options and samples, and then handle the complete installation. As a one-stop shop, we manage plans and permits, on-time delivery, and quality installation, so you’re not juggling separate vendors. If your project also touches a patio door or front doors, we cover those openings under the same roof. Skilled window installers also know when little room around a jamb calls for backer rod before the sealant goes in.
Good installation shows in the details: setting the unit level, plumb, and square, removing old caulk and weatherstripping, replacing worn jamb liners where needed, and sealing any gap with low-expanding spray foam insulation for an airtight fit before running exterior caulk, flashing tape, and foam insulation to shed water. We protect existing trim, bring the right tools and materials to the job, and safeguard furniture, flooring, window treatments, and any blinds or curtains in the way. Since openings are temporarily exposed during the installation process, we ask that you plan to be home and allow enough time for the work. We’re CSLB Licensed and Insured (#923505), BBB A+ accredited, and Diamond Certified, and we back our work with a lifetime warranty (the maker’s warranty usually doubles). With over 7,000 projects completed and 360+ each year across the Bay Area and Sacramento, we’ve handled a lot of openings like yours, no matter the location on your home. And 0% financing is available if that helps.
Schedule Your Free Consultation

We first figure out what can stay and what needs to come out, then handle the rest. Schedule a free in-home or virtual consultation, or request a free no-obligation quote and expert advice. Ask about 0% financing with zero down. Call us at (888) 853-6277 when you’re ready.
Frequently Asked Questions
Can a replacement window be replaced again?
Can I put a new insert in the same original frame?
Can fogged double-pane glass be replaced without replacing the whole window?
What is the average installation cost of replacing a window?
Is it better to install from the inside or outside, and can I do it myself?
Trusted By: