

 all communications are private and not shared with other parties.
How to Reseal Windows: Caulk, Weatherstripping, and Seal Failures Explained
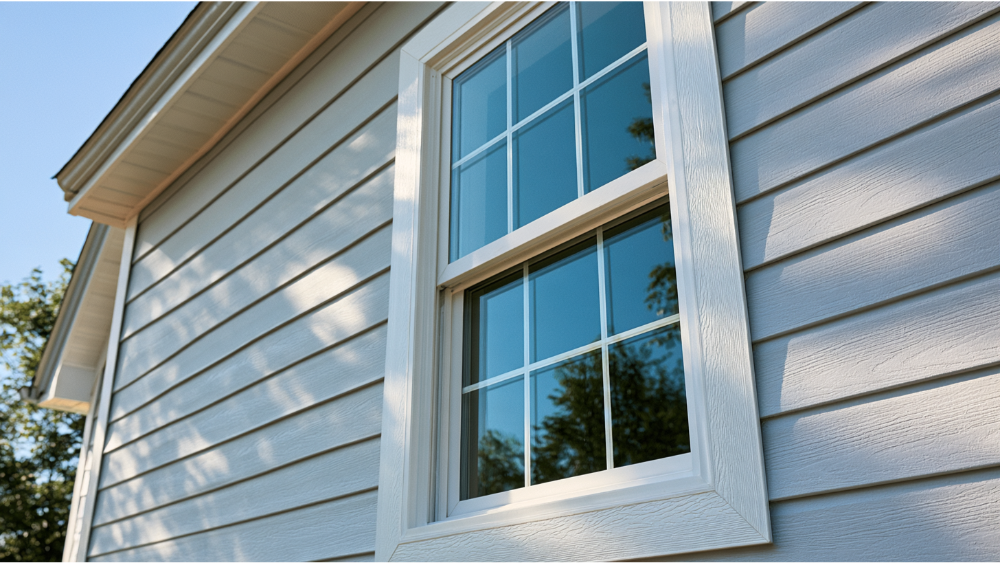
Key Takeaway
To reseal windows, first identify which seal has failed: perimeter caulk at a stationary joint, weatherstripping around a moving sash, or the glazing compound in an older wood sash. Use exterior-rated caulk on stationary seams and matching weatherstripping on movable parts. Never caulk weep holes or drainage slots. Fog trapped between double-pane glass means the insulated unit has failed and cannot be fixed with caulk.
How to Reseal Windows (The Short Answer First)

To reseal windows, find where air or water is actually getting through, then match the fix to the failure. Use exterior-rated window sealant on stationary perimeter joints and weatherstripping around a movable sash. Never cover weep holes or drainage slots, and know that fog trapped between double-pane glass cannot be fixed with caulk. This guide on how to reseal windows is for homeowners who want to try a reasonable repair before replacing. The first thing to understand: “window seals” describes several different parts, and the right repair depends on which one failed.
First, Identify Which Window Seal Has Failed
Window seals can mean the perimeter caulk at a stationary joint, the weatherstripping around a moving sash, the hidden air seal in the rough opening behind the trim, the old glazing compound holding glass in older wood sashes, or the factory edge seal inside a double-pane glass unit. Flashing and drainage sit in a category of their own. On old windows especially, more than one of these can fail at once, so diagnose before you pick up a caulking gun.
| Symptom | Likely issue | Correct starting point |
|---|---|---|
| Cracked caulk between window frames and trim | Failed perimeter caulk | Remove and replace compatible sealant |
| Drafts between sash and frame | Worn weatherstripping | Replace matching weatherstripping |
| Air leaks from behind interior trim | Unsealed rough opening | Backer rod plus caulk or low-expansion foam |
| Water collecting in the track | Blocked weep holes | Clear drainage; do not caulk it |
| Staining around wall or trim | Possible flashing or siding issue | Professional water-intrusion assessment |
| Fog between the glass panes | Failed insulated glass seal | Glass, sash, or window replacement |
| Rot, warping, hard operation | Frame or installation damage | Professional evaluation |
Common Signs Your Windows Need Resealing
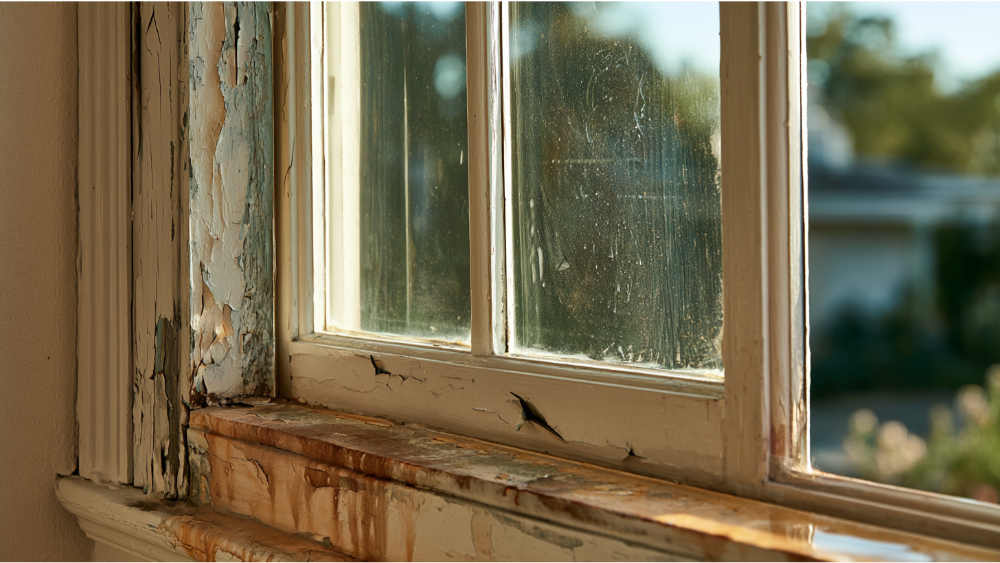
The common signs are easy to spot once you know them: cracked lines along the window trim, drafts you can feel on a windy day, visible gaps where two materials meet, and climbing energy bills with no other cause. If you hold a hand near the edges and feel outside air sneaking in, that’s your cue to reseal your windows. Single pane windows in older homes show these symptoms soonest, since they offer less of a barrier to begin with.
Can You Reseal Windows, or Does It Need Repair or Full Window Replacement?
Resealing is a good DIY job when the problem is on the surface:
- Visible failed caulk or cracks at a stationary joint
- Weatherstripping you can replace
- Accessible, undamaged surfaces with no rot
Call a professional when the leak appears behind siding, stucco, or trim, when water enters above the opening, when the frame is soft or warped, when several windows show the same problem, or when access or older-home lead concerns make the work unsafe.
Consider glass, sash, or full window replacement when fog is trapped between the glass panes, the frame is damaged, the window won’t close or lock, or resealing keeps failing. Fogged glass means the unit has lost its insulating benefit and its energy efficiency, and caulk can’t bring that back.
Tools and Materials You Need to Reseal Windows
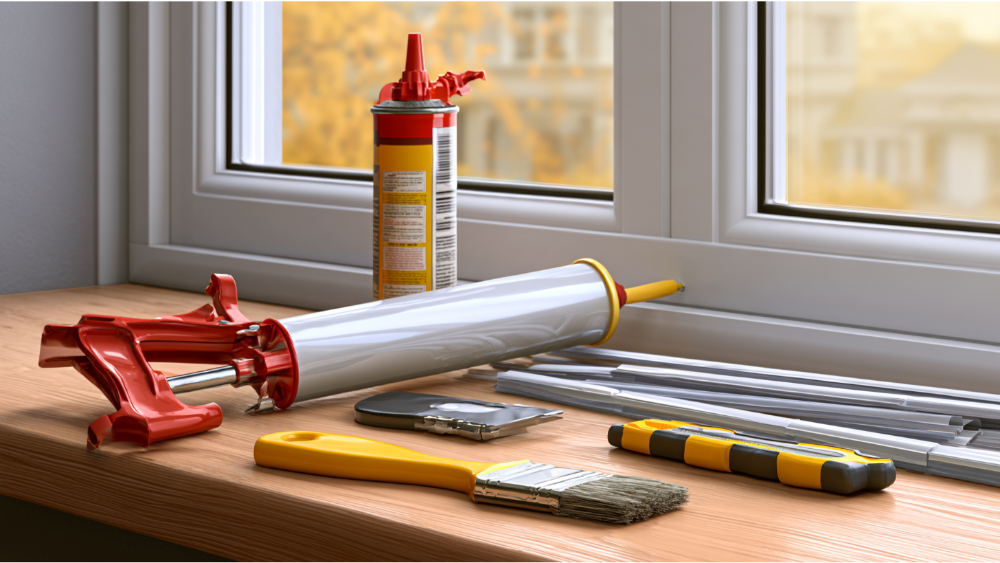
These are basic tools most homeowners already own or can buy inexpensively:
- Utility knife or caulk-removal tool
- Plastic scraper or putty knife
- Soft brush and vacuum
- Mild cleaner and clean cloths
- A caulk softening product for stubborn old caulk
- Painter’s tape for clean, smooth lines
- A caulking gun and a fresh caulk tube
- Compatible exterior grade caulk
- Matching weatherstripping
- Closed-cell backer rod where needed
- Low-expansion window-and-door foam where needed
- Gloves and eye protection
Lead-Safety Note for Homes Built Before 1978
Scraping caulk, glazing, trim, or painted wood in a house built before 1978 can release lead dust, and windows and sills are friction surfaces where old paint breaks down easily. The EPA recommends lead-safe work practices, and paid contractors doing covered work in pre-1978 housing generally must follow the Renovation, Repair and Painting rule. When in doubt, contain the dust and clean up carefully.
Caulk vs. Weatherstripping vs. Foam: Choosing the Right Window Sealant
| Material | Correct use |
|---|---|
| Caulk / sealant | Stationary joints and seams |
| Weatherstripping | Moving sash-to-frame joints |
| Backer rod plus sealant | Wider or deeper gaps |
| Low-expansion window-and-door foam | Hidden rough-opening gaps under about 1/2 inch |
| Glazing compound | Traditional glass-to-sash where specified |
| Factory IGU edge seal | Not a DIY reseal |
There’s no single “best” chemistry. A quality silicone or hybrid product creates a durable joint. Pick an exterior-rated caulk that lists both adjoining materials (wood, vinyl, fiberglass, aluminum, stucco) as compatible, and confirm it’s paintable if you plan to paint the joint.
Applying New Sealant: Caulking Window Seams Step by Step

- Confirm the leak location and check for rot or water damage.
- Identify weep holes and drainage openings, and mark anything to leave unsealed.
- Remove loose and failed old sealant with a utility knife or putty knife. Don’t caulk over failing material.
- Clean dirt and residue, then let the joint dry to a smooth surface.
- Add backer rod if the gap is deep.
- Cut the caulk tube nozzle to match the joint width.
- Run a continuous bead in one steady motion along the window seams.
- Tool the smooth bead immediately with a putty knife or gloved finger so the new sealant contacts both edges and stays smooth. A good seal along the bottom seam matters as much as the sides.
- Pull the painter’s tape before the caulk skins over.
- Cure per the label: touch dry in about an hour, 24 hours before moisture exposure.
Work on a dry day above 40°F. In the Bay Area, that usually means waiting for a clear stretch between winter storms before you reseal windows on the exterior. Careful prep and a steady hand make all the difference between amateur and professional results.
Reglazing Windowpanes in Older Wood Sashes
Reglazing windowpanes is a related repair for traditional wood sashes where old glazing putty has cracked and fallen away from the panes. You remove the failed putty, clean the rabbet, bed the glass, and apply fresh compound in a smooth line. This keeps single pane windows weathertight within their existing frames rather than replacing them outright.
How to Replace Worn Weatherstripping to Reduce Heat Loss on Drafty Windows

Open the window and find the flattened, brittle, or missing material behind the drafts. Photograph it or save a sample so you can match the profile. Clean and dry the channel, cut the replacement to length without stretching it, and install per the instructions. Confirm the sash closes and locks normally, and keep tracks and weep holes clear. Sliders and hung windows usually take pile or V-strip; casement and awning windows take a compression gasket. Fresh weatherstripping closes the gaps that cause air leaks, helps reduce heat loss, and makes for a more efficient home.
Why Fog Between Double-Pane Windows Means Heat Loss You Can’t Caulk Away
Condensation shows up in three places. On the room-side surface, it points to indoor humidity. On the exterior surface, it’s usually normal. Between the panes, it means the insulated glass unit’s edge seal has failed. That unit is a factory-sealed assembly with spacers and often an inert gas fill, and once the seal breaks, perimeter caulk can’t remove trapped moisture or restore the gas. This kind of window seal failure causes real heat loss and leaves you three options: replacing the glass unit, the sash, or the whole window. Check the manufacturer warranty first, since NFRC and ENERGY STAR note that IGU warranties commonly run 10 to 20 years.
Places You Should Never Caulk

- Weep holes and drainage slots
- Moving sash tracks
- Locks, rollers, hinges, or balances
- Removable components
- Over wet, dirty, or loose material
- Over a leak that originates above or behind the window
- Anything needed for egress or normal operation
Keep drainage paths open so winter rain can escape instead of backing up into the window frames.
California and Bay Area Considerations for a More Efficient Home
Do exterior sealant work during a dry weather window. Surface caulk won’t correct a stucco, siding, or flashing leak, so get a water-intrusion assessment if water enters above or behind the frame. Sealing and weatherstripping are affordable, improve your home’s energy efficiency, and the DOE notes they often pay for themselves through lower energy bills within a year, which helps you save money over time. If the work grows into sash or full assembly replacement, check with San Francisco DBI about permits. New windows under permits filed on or after January 1, 2026 must meet the California 2025 Energy Code (San Francisco sits in Climate Zone 3, with a roughly 0.27 maximum U-factor in Zones 1 to 5, exceptions apply). Use a CSLB-licensed contractor when a permit is required or combined labor and materials reach $1,000.
When Resealing Is No Longer the Best Value

Resealing has limits. If you’re seeing repeated failures across many windows, several fogged glass units, frame rot or distortion, windows that won’t close or lock, or persistent drafts and higher energy bills despite intact caulk and weatherstripping, resealing is only hiding the real problem. The same is true when you’re planning a whole-home upgrade and want consistent appearance and improved energy efficiency.
That’s where we come in. We’re a one-stop shop: accurate measurements, plans and permit handling, product delivery, and quality installation, backed by a lifetime warranty on our work. We’re Diamond Certified and CSLB Licensed & Insured, License #923505, with 0% financing available.
If you’re unsure whether your old windows need resealing, glass replacement, or a full set of new windows, schedule a free in-home or virtual consultation with Best Exteriors. We’ll give you expert advice and a no-obligation quote for homeowners in the Bay Area & Sacramento. Call (888) 853-6277.
Frequently Asked Questions
Can you reseal windows yourself?
Yes, for visible perimeter caulk and replaceable weatherstripping on accessible, undamaged surfaces. Call a professional for hidden leaks, rot, or lead concerns in pre-1978 homes.
Can you reseal windows without replacing them?
Often yes, when the failure is surface caulk, cracks, or worn weatherstripping. No, when fog is trapped between the glass panes or the frame is damaged.
Is it worth resealing windows?
Yes, when it fixes real drafts or air leaks. The DOE notes caulking and weatherstripping often pay back within a year, though exact savings depend on your home.
How much does it cost to reseal windows?
It varies by scope, materials, and access. DIY window sealant is inexpensive, while larger or professional work costs more. The simplest way to know your number is a free, no-obligation quote.
Trusted By: